


Mercedes ventilated seats offer comfort but are prone to issues like blocked vents, damaged components, or faulty electrical connections. While minor repairs may be DIY, complex jobs require professional expertise. Prepare by assessing damage, gathering tools and parts, and seeking professional advice for severe cases. Home repairs can save costs, but safety and quality ensure Mercedes standards. Start with a thorough examination, gather necessary tools and replacements, and test functionality after reassembly.
Looking to refresh your Mercedes’ comfort? Learn how to tackle DIY repairs with our comprehensive guide to fixing your ventilated seat at home. Understanding the unique features and common issues plaguing these luxury seats is key. Armed with the right tools, materials, and step-by-step instructions, you’ll save time and money while restoring optimal performance. Master the art of Mercedes ventilated seat repair and drive in comfort once again.
- Understanding Mercedes Ventilated Seats and Common Issues
- Preparing for Repair: Gather Tools and Materials
- Step-by-Step Guide to Fixing Your Ventilated Seat at Home
Understanding Mercedes Ventilated Seats and Common Issues

Mercedes ventilated seats are a luxurious feature found in many high-end vehicles, offering drivers and passengers a refreshing experience, especially during hot summer days. These seats incorporate small holes or vents that allow for air circulation, helping to keep the occupant cool. However, over time, these seats can develop common issues that may require DIY repairs. One of the most frequent problems is a malfunction in the ventilation system, which might result from blocked vents or damaged components. Other potential issues include worn-out seat covers and broken electrical connections.
While some minor repairs can be tackled at home, more complex Mercedes ventilated seat repair jobs might demand professional attention, especially if parts need to be replaced. For those interested in attempting DIY repairs, a thorough understanding of the seat’s mechanics is crucial. This may involve researching online resources or consulting vehicle restoration guides specific to Mercedes models, ensuring that the repair process is safe and effective without damaging other components.
Preparing for Repair: Gather Tools and Materials

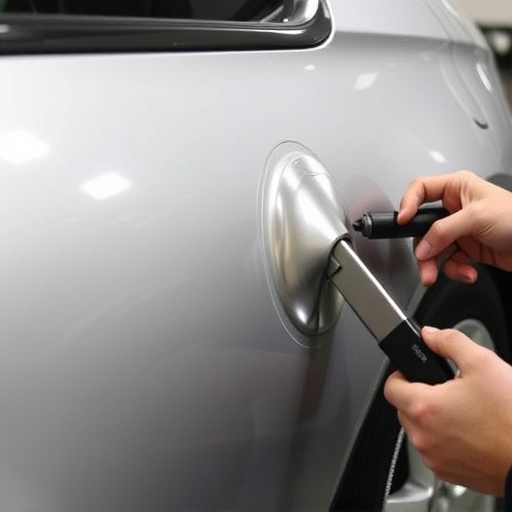
Before tackling any Mercedes ventilated seat repair, it’s crucial to prepare and gather all necessary tools and materials. This DIY project requires specific components to ensure a successful and lasting fix. Start by assessing the damage—whether it’s a punctured or deflated vent, loose wiring, or other issues. Then, create a list: you’ll need replacement parts such as valves, tubes, and connectors, along with common tools like a screwdriver set, pliers, and a pump for re-inflating the seat. For more complex repairs involving car collision repair or frame straightening, consider seeking advice from professionals to ensure safety and precision. Having the right materials and equipment is key to achieving a seamless fix that matches your Mercedes’ quality standards.
Step-by-Step Guide to Fixing Your Ventilated Seat at Home

Repairing your Mercedes ventilated seat at home can be a cost-effective solution for minor issues. Here’s a step-by-step guide to help you navigate the process:
1. Assess the Damage: Start by examining the affected area closely. Identify whether it’s a blown fuse, a faulty heating element, or a loose connection causing the malfunction. This will guide your repair approach. For example, if it’s a blown fuse, replace it with an identical one specified in your vehicle’s manual. If you’re unsure about any part, consult an automotive repair expert or refer to your car’s service manual.
2. Gather Tools and Parts: Ensure you have the necessary tools and replacement parts before beginning. This might include basic tools like a screwdriver, pliers, and a multimeter for testing electrical components. For Mercedes ventilated seat repair, specific parts such as heating elements, fans, or control modules may be required. These can often be sourced from automotive body shops or online retailers specializing in auto maintenance supplies.
3. Disconnect Power: Before handling any electrical components, ensure the vehicle’s power is disconnected to prevent accidents or shocks. This step is crucial for your safety and ensures you work in a safe environment.
4. Demount the Seat: Carefully demount the affected seat following a systematic approach. Document or take mental notes of how each part connects to facilitate reassembly later. Be prepared for a challenging process, especially if the seat is firmly attached due to prolonged use.
5. Identify and Fix Faulty Components: Using your assessment from step one, replace or repair any faulty elements. For instance, if a heating element is damaged, carefully remove it and install a new one, ensuring proper connections.
6. Reassemble and Test: Once all components are replaced, reassemble the seat, following the reverse path of disassembly. After everything is in place, reconnect the power source and test the seat’s functionality thoroughly.
Repairing your Mercedes ventilated seat at home can be a cost-effective solution for common issues. By understanding the components and following a structured approach, you can effectively address problems with your seat’s functionality and comfort. With the right tools and materials on hand, as outlined in this DIY guide, you’ll be well-equipped to navigate the repair process. Remember, while this guide provides a comprehensive step-by-step breakdown, regular maintenance and early detection of issues are key to preventing future repairs. So, take control of your Mercedes seat’s health and save money with these simple, yet powerful, DIY skills!